
- Details
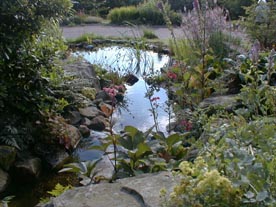
Before the time when on-line activities took over from real life we spent a lot of time gardening. From when we first moved to Ladymoor Gate and began tackling the overgown parts of the garden and fighting to convert the grassed areas into lawn we had always wanted a pond. In 1999 when I was between jobs we decided it was a good time to begin.
- Details
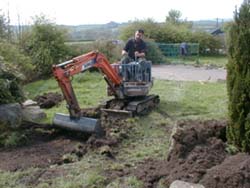
First we marked out the site of the pond with a number of wooden pegs. These showed the postion, size and shape of the pond. Approximately 7 x 5m.
As we had decided to use a number of large rocks to build a rockery beside the pond we decided to move them approximately into place before we dug the hole. This would prevent us from negotiating the hole and the resuling heap of soil!
- Details
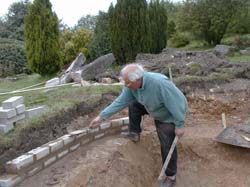
We built a low brick wall around the edge of the pond to provide a firm edge and a base for the stone features. The water proof lining will come up over the wall and under the stones.
To make it easier we used a cement mixer!
- Details
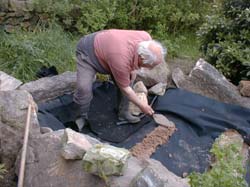
Before we lined the main pond we worked on the watercourse. We used a thick butyl liner with an underlay to minimise the risk of puncture from unlderlying stones. We dug out the watercourse in a series of stages, each pool being 10 to 15cm deep with the front edge deeper than the rear.
- Details
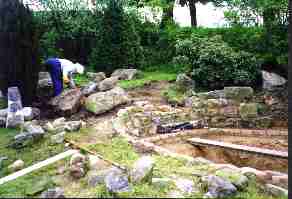
The large rocks were moved approximately into place by the digger but still needed to be moved manually into their final position. The large rocks in this picture were manoevered into position by three people using crow bars and levers. More of the large rocks to the left were also moved to build the water course channel.

